-
简单 高效 卓越 客户第一 诚信至上
以精立业 满足客户需要 以质取胜 创造可靠产品 以诚相待 提供优质服务
公司简介
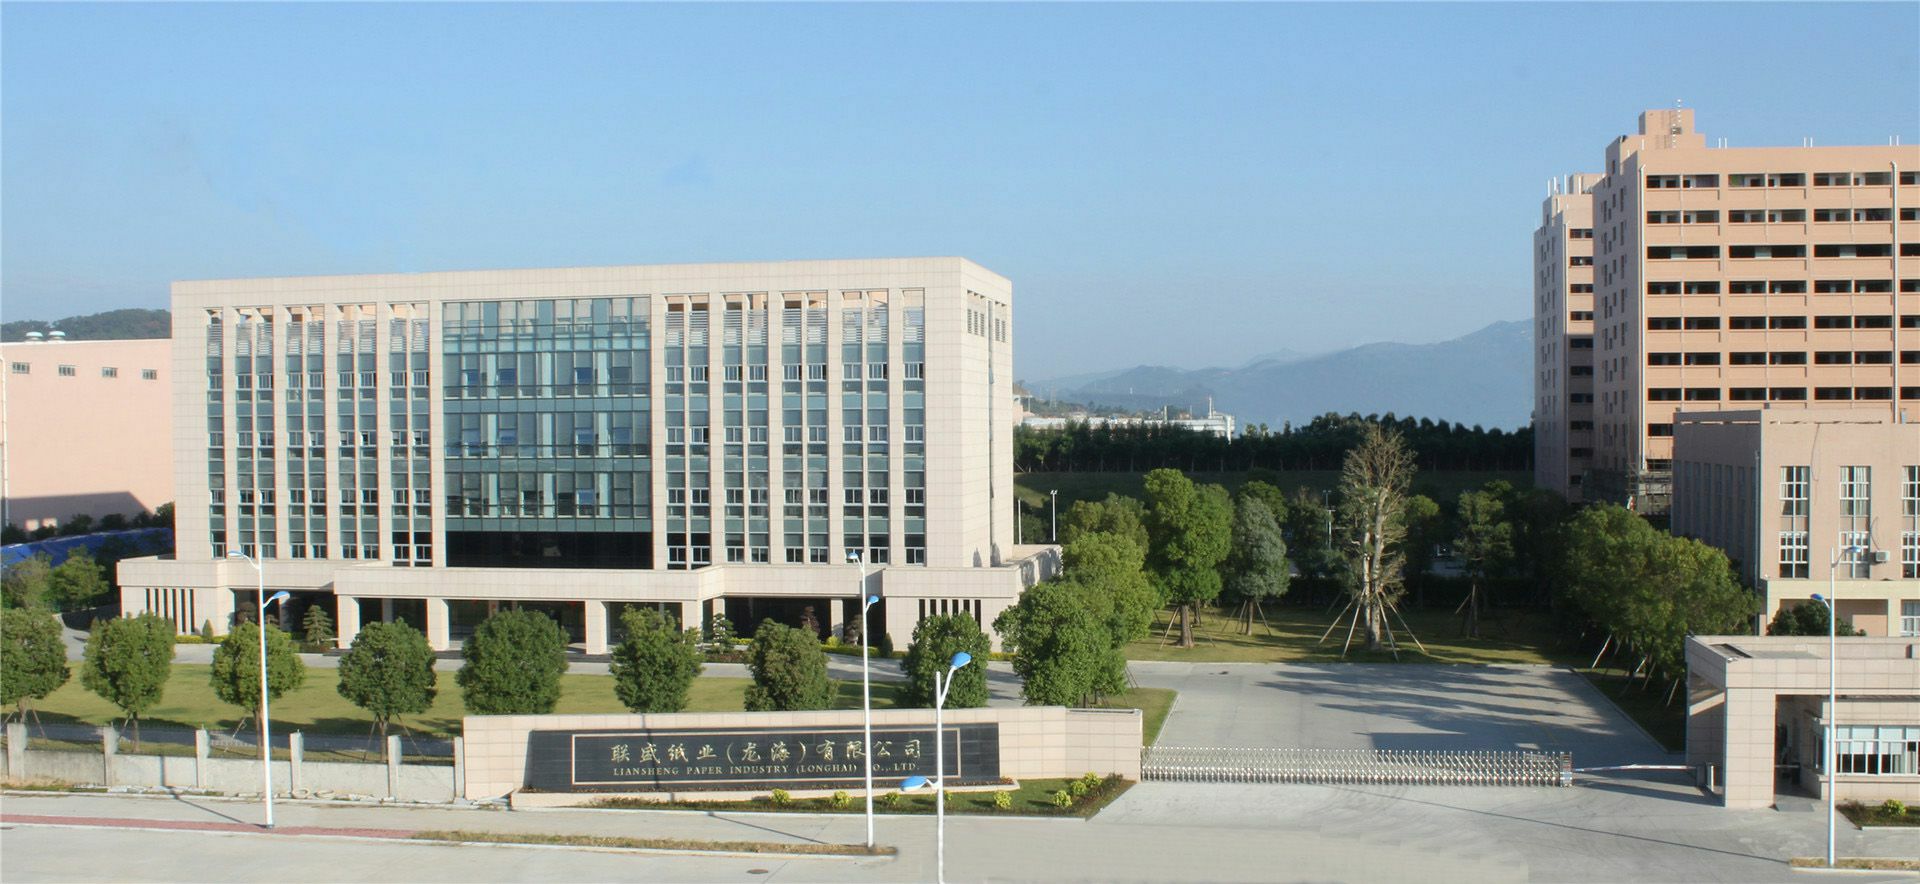
开云APP登录入口(中国)科技有限公司于2010年在福建省漳州台商投资区建厂,是一家以再生资源废纸为主要原料的环保型造纸与热电联产为一体的福建省龙头企业。历经磨砺,如今已发展成为集产品研发、废纸回收、废纸制浆、造纸、销售、物流为一体的大型现代化造纸企业。
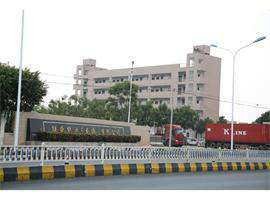
公司位于毗邻厦门的漳州台商投资区,旗下有开云APP登录入口(中国)科技有限公司、漳州市联益废纸购销有限公司、福建省开云APP登录入口(中国)科技有限公司物流有限公司、厦门玖立纸业进出口有限公司等多家子公司。拥有员工2300多人,占地面积1500多亩,年产包装纸260万吨。
多年来,开云APP登录入口(中国)科技有限公司一贯践行企业发展和社会责任并重的经营理念,坚定不移走低碳、节能、环保的循环经济发展道路,以可循环使用的废纸为生产原料,采用国内外先进的生产工艺和设备,采用一流的环保设施,生产绿色环保产品。主导产品包括涂布白板纸、涂布牛卡纸、高强瓦楞纸、高档牛卡纸、纱管原纸、灰版纸、T纸等7个品种多个级别的包装纸,产品被誉为“福建省名牌产品”。
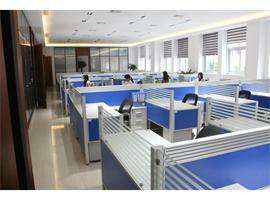
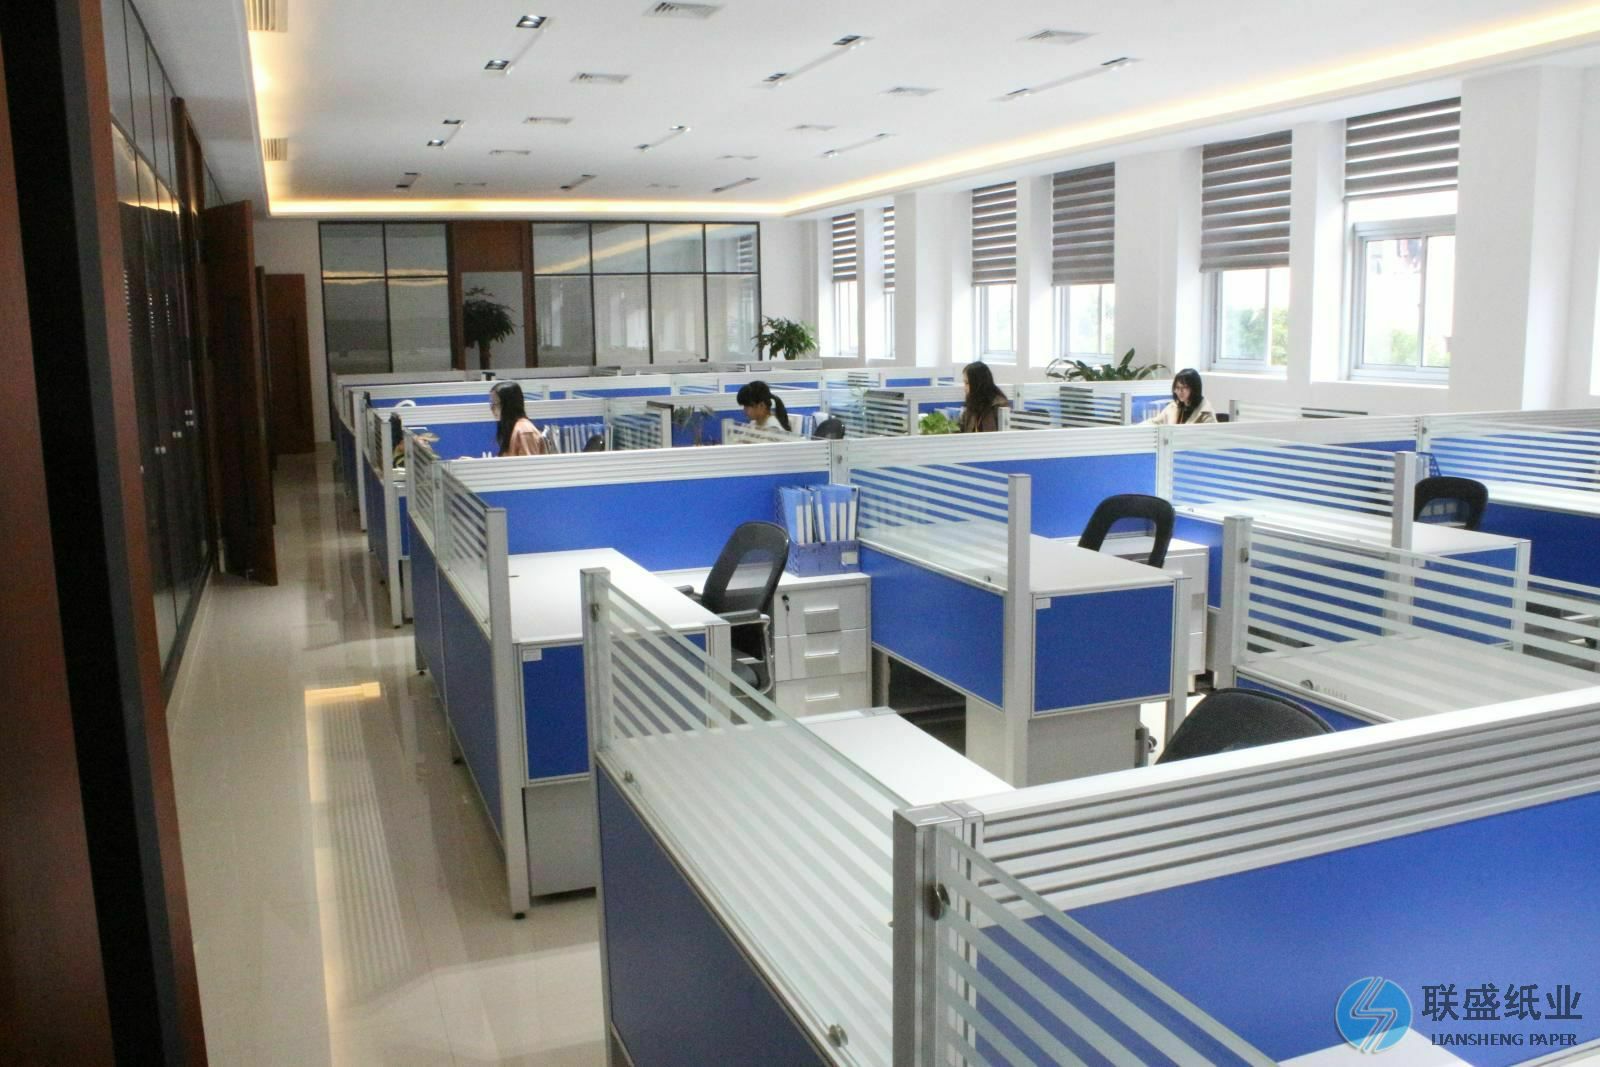
公司已全面实现自动化、信息化管理,先后通过ISO9001质量管理、ISO14001环境管理、OHSAS 18001职业健康安全管理等体系认证和FSC-COC产销监管链认证,并被国家认定为高新技术企业,为公司可持续性发展夯实了稳固的基础。
面对全球经济一体化的机遇与挑战,开云APP登录入口(中国)科技有限公司坚持“以诚为本、优质服务”的经营方针,以“简单、高效、卓越”为管理理念,以创新为动力,通过产品多元化及高端产品研发,走出一条具有自身特色的可持续发展道路,确立在行业中的独特优势,致力跻身国内造纸前列,为我国经济、社会发展做出更大的贡献。


人才政策
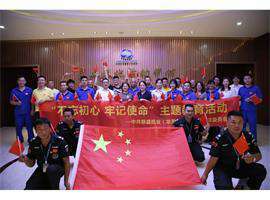
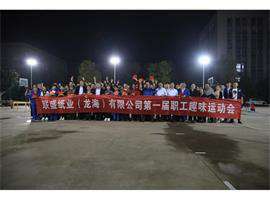
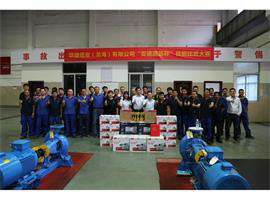
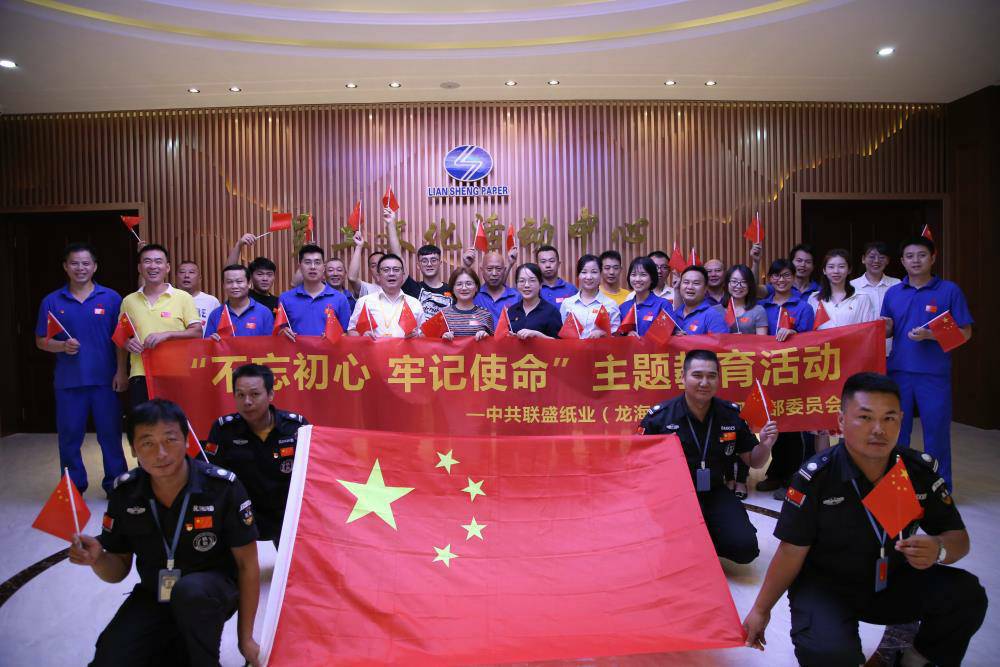
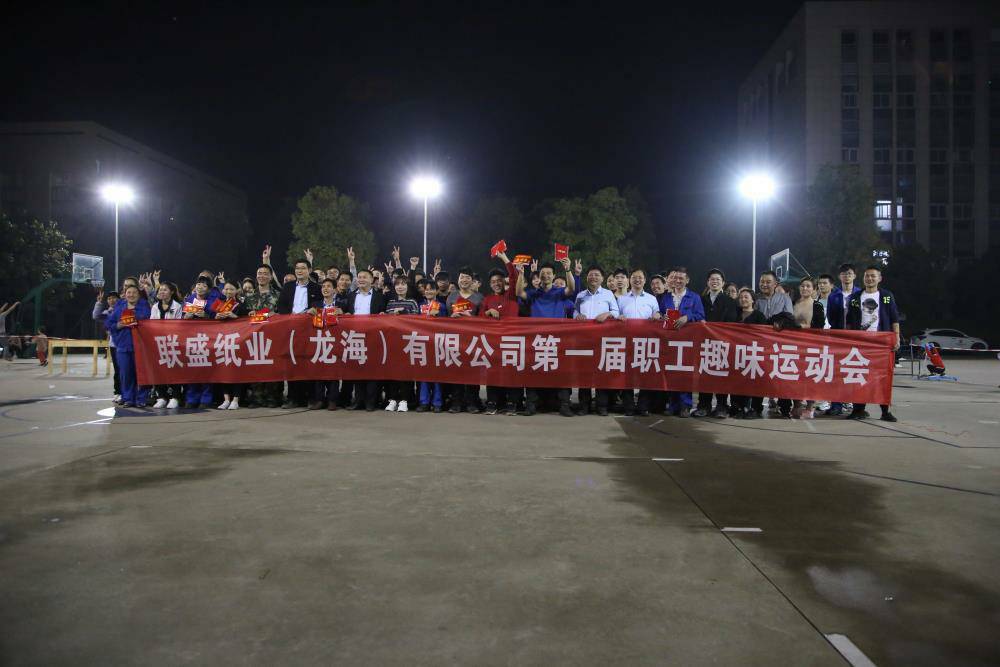
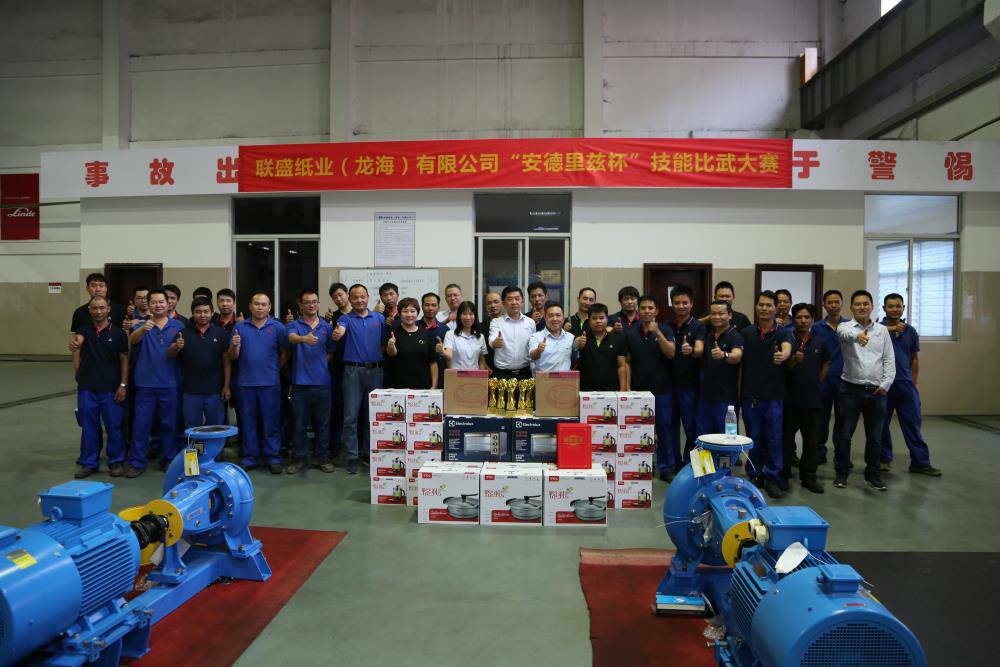
开云APP登录入口(中国)科技有限公司人始终秉承“朴素务实、忠诚团结、岗位奉献、勇于开拓”的企业精神,坚持“重视人才,关注员工”的企业宗旨,按照“客户第一、诚信至上”的经营理念和“简单、高效、卓越”的管理理念扎扎实实推进各项经营管理工作。“员工与公司共同成长”的观念使开云APP登录入口(中国)科技有限公司人与企业牢牢联结在一起,已形成了一支生命力旺盛的忠诚的企业团队,开云APP登录入口(中国)科技有限公司也走出了一条具有自身特色的企业文化发展道路。
重视人才,关注员工。只要您是造纸电力行业的人才,我们诚邀您加入开云APP登录入口(中国)科技有限公司大家庭,与公司共同成长,铸就公司的成功辉煌,铺就您成功的职业道路。